Hello, it was rather a test for me if I can paint some random faces and I think it succesfully done.

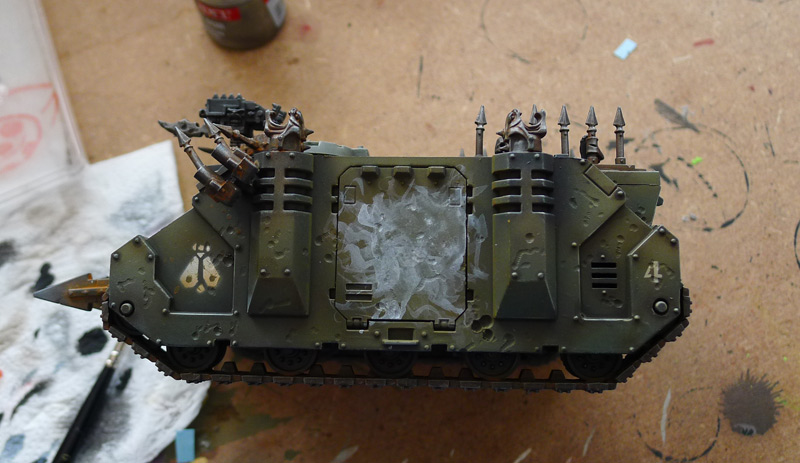
1. Some thin, randomly placed white paint.
2. Now look for some faces and highlight them.

3. More highlights.

4. Add some shadows.

5. Unify color with surface you’re painting on.

6. Rehighlight.

7. More highlights and details added.

8. Red accents, some more details and white dots. Done!

Hope you find it useful! :)
Fantastic tutorial, Lukasz! Thanx for sharing!
Brilliant how to, so helpful for guys trying to work on their freehand like myself… Have you ever done anything like a freehand skull texture on a tank ? love to see how you would approach a project like that… anyway thanks for the tutorial!!! :)
Skulls, ymmmm… I remember that I paint skull once on tank, here you can find it:
https://fantasygames.com.pl/blog/lamenters-land-raider-redeemer/
It’s similar, but there was a plan what I want to paint ;)
Bardzo fajny pomysł. Patrząc na skrzydła muchy po lewej stronie najpierw dostrzegłem cycki, a dopiero później owad. ;) Interesująco wygląda też battle damage. Głębię osiągnąłeś malowaniem czy są to faktyczne zniszczenia, rysy itp na plastiku?