Hello, for sure when you cut masks you find some problems with empty spaces between masks. Tape is good. But, if you’re have same symbol to duplicate many times it’s not so funny, especially when tape is broken after couple times of use.
I have an idea with rings painted on a flat surface, and didn’t want to have too much work.
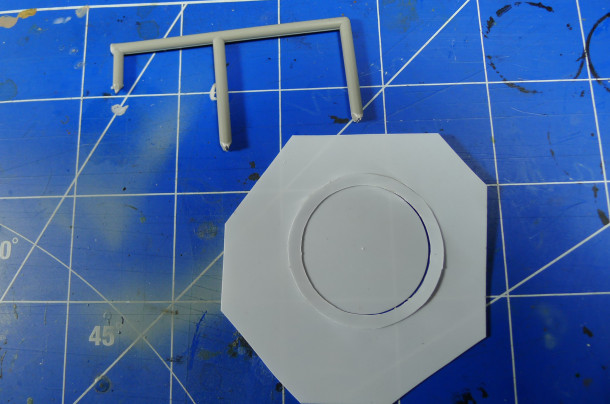
So, I took circle tools and sketched my pattern on base. It’s not so good visible but there is pattern sketched with a pencil. Next I cut two circles on thin plasticard (0,5 mm).
I found some good shaped old plastic frame.
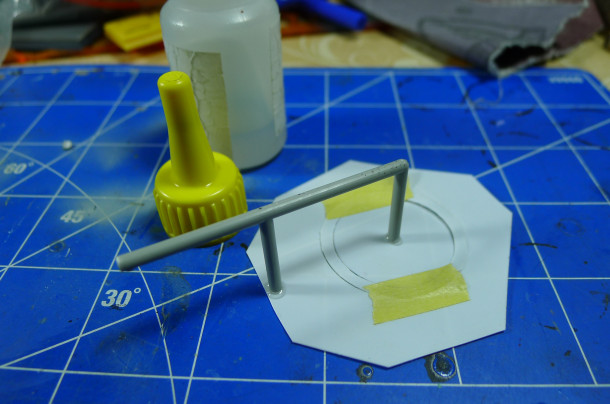
A drop of super-glue and tape to hold in place all pieces.
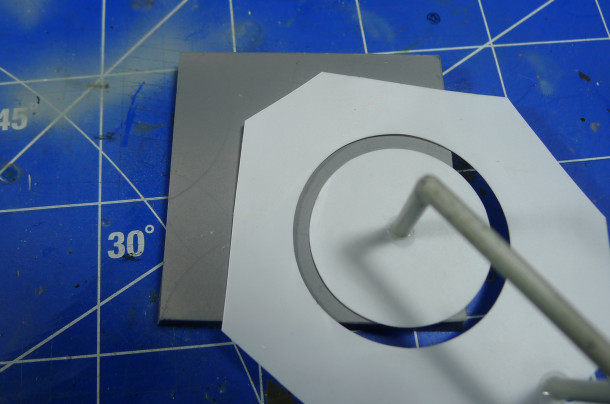
And „3D” mask is ready to use. It’s good to use masking tape to hold mask in place.
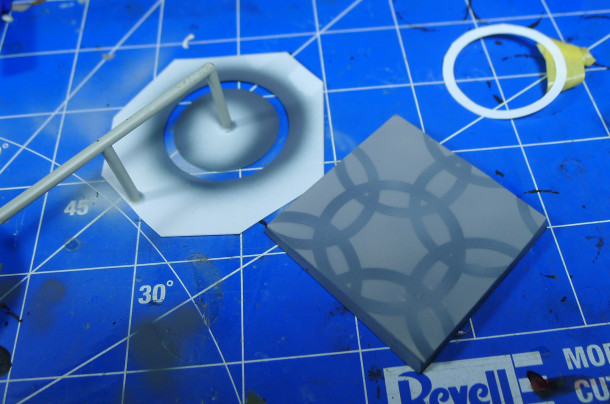
Here is an example for what you can use it.
With some weathering. Base is almost done.
So all in all this solution is very simple and effective when you have a lot of same shape to duplicate. Hope it will be inspiring for you with cutting your masks! Good luck!


Simple and very useful :)
Thanks for sharing.